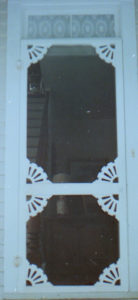
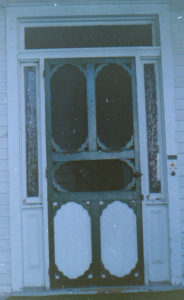
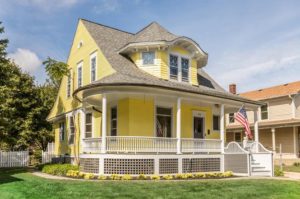
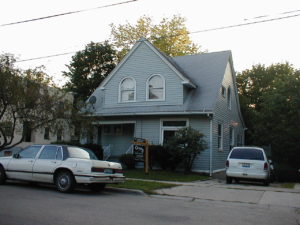
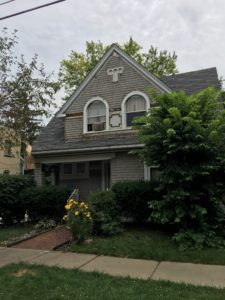
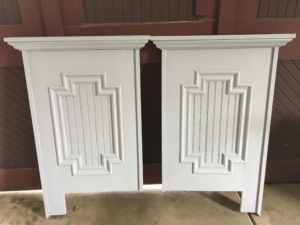
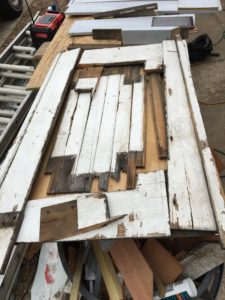
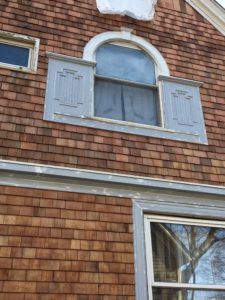
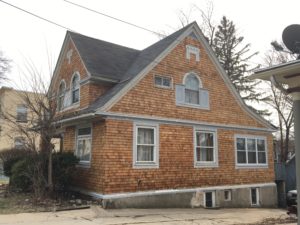
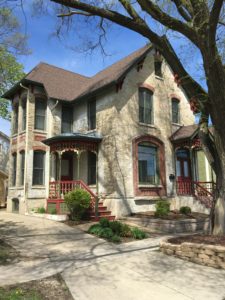
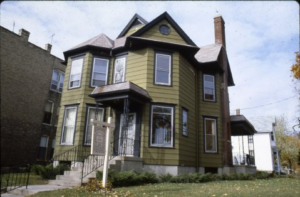
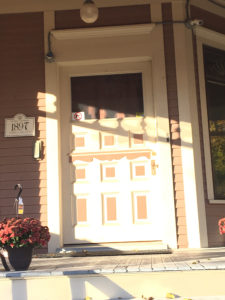
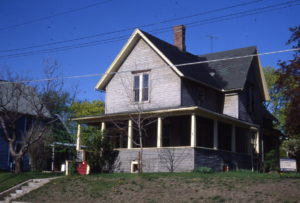
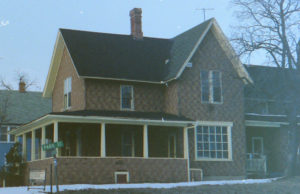
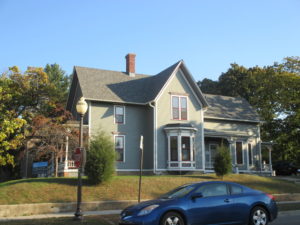
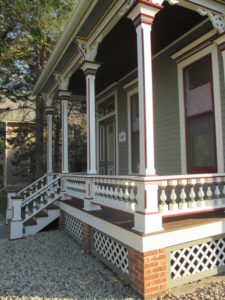
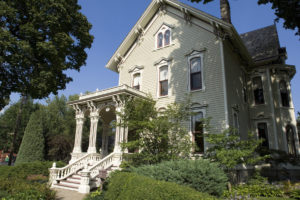
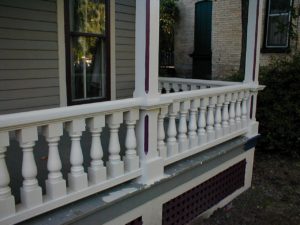
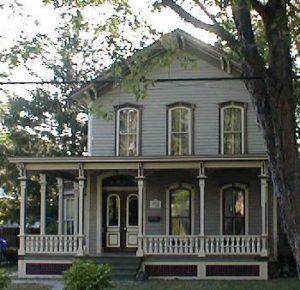
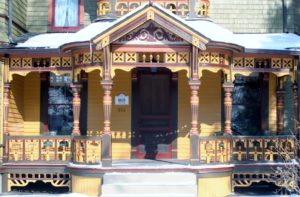
We bought our first old house in 1975 only because that was all we could afford. I calculated what I could afford and it was $30,000.  This one cost $29,500.  With 10% down my monthly payment was $250. At the time it was tough to make the payment as a teacher I was only making$9000 a year.   It had an ugly storm door on the front that hid the fancy inner door.
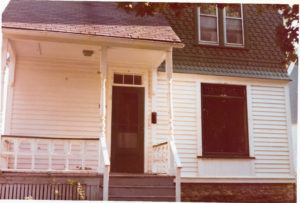
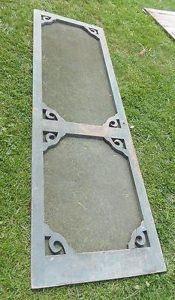
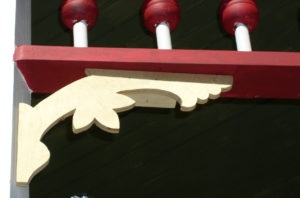
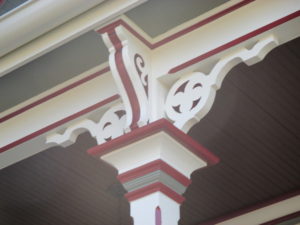
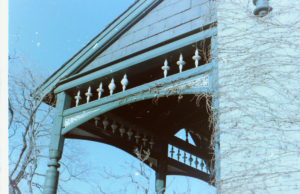
We started looking into options.  I had seen pictures of fancy Victorian Screen doors so we decided to go with that.  I was an amateur woodworker so I wanted to make my own.  We also saw marks for a missing frieze at the top of the porch.  Looking for a replacement for that started my forty year love and study of old house porches.

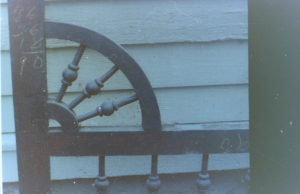
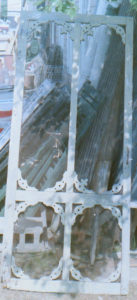
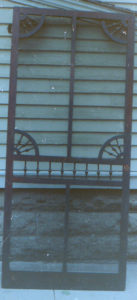
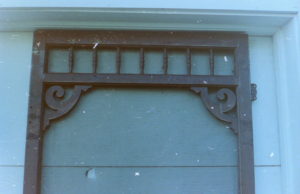
I wanted the door to be something that was authentic so whenever I saw a house with one on it I stopped and asked if I could trace and measure the details. After the people realized that I was not crazy they allowed me to do it. What would you do if a big ugly guy knocked on your door and asked to trace your details?  I actually made some friends by doing it and one woman, after realizing what an old house nut I am actually invited me in for a complete tour.  I found a real bracket that I used as a pattern for more  and store bought spindles that would serve me well.  I made my first Victorian Screen door even making mortise and tenon joints like the old timers did.  They had huge machines to quickly and easily do it.  Making them by hand as an amateur woodworker was not so much fun.   I made a couple more like that then switched to making joints with large dowels.  With a doweling jig it is much quicker.  Most doors after the turn of the century were made with dowels instead of a mortise and tenon joint.  Here is my first Victorian screen door and the frieze I made using a design I found on a house nearby. Marks for the spindles and middle pieces were left on our house.
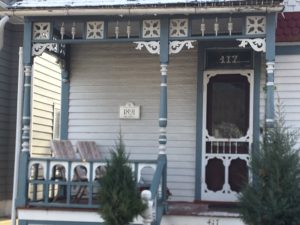


Here is the seocnd door I made for our back porch. My doors have interchangeable storms and screens.  The local glass place made them with aluminum frames.  I put a rabbet on the inside of the door to accommodate them.
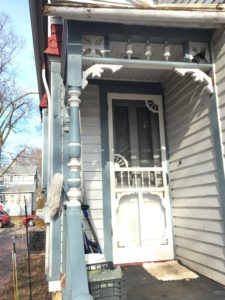


Here is the frieze and balustrade I made for the back porch to match the front:
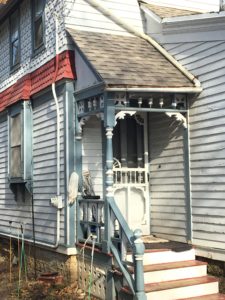
 

Here are two I made for a neighbor.
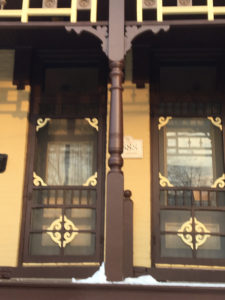
The owner installed them himself.  The door frames were not square so the doors required some planing which is very common.  He did not want to do it so he took the door frames completely off and reinstalled them square so the doors fit perfectly without planing.

Here is anther one I made for a neighbor.
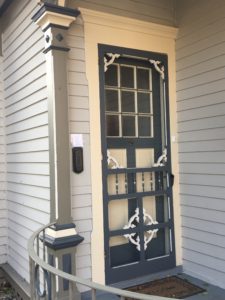
Below is another I made for a neighbor.  This bracket pattern was taken from a door form a nearby house.  The people had it in their garage and I convinced them to put it back up.
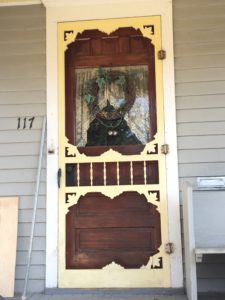
Here is the door I  made for the back porch of our current house.
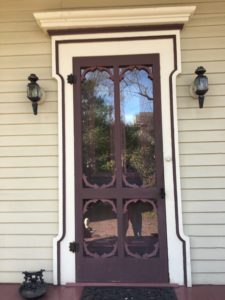
I made frames from wood for the interchangeable storms and screens. the frames and the doors have matching rabbets.
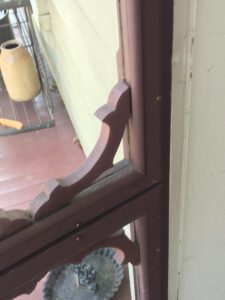
In the 70’s I became a Victorian Screen door nut. I wanted to be a missionary to spread the word about Victorian Screen doors.  I took all of my authentic patterns and directions for making a screen doors including correct proportions and printed them  in booklet form.
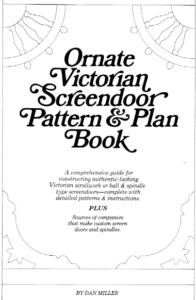
 

In the 70’s the Old House Journal let subscribers place ads in their magazine at no cost.  I put an ad for my Victorian Screen door plan book in the magazine and sold over 500 of them nationwide at $5 each.  Felt great. At the time there were not companies making them.  There are several today but they are expensive and most do not look very authentic.  I have now placed my plan book on line free to anyone that would like it. It has full size patterns for real brackets.  Click here to see it.

A friend and neighbor had a great old picture of his house which originally had Victorian screen doors.  He used a pattern from my booklet to make them.  What a wonderful addition to our neighborhood.
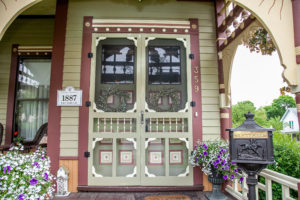
 

Another friend and neighbor made these doors for his house.
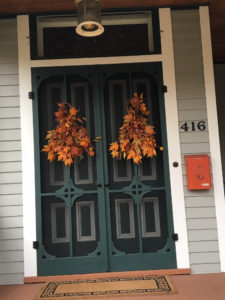
A friend added store bought brackets to create a Victorian Screen door.
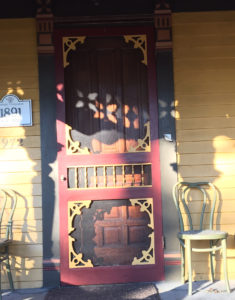
 

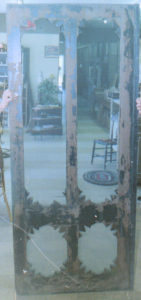
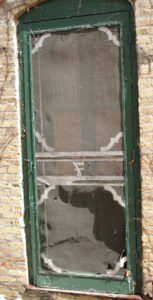
Here are more pictures of Victorian screen doors. The first on on the left is from Cape May, New Jersey. We visited there on our honeymoon in 1976.
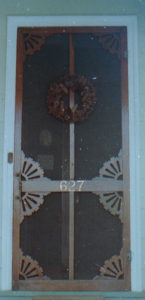
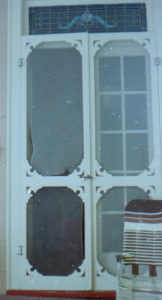
 

If you make one for your house I would love to see a picture.  Send it to Dan Miller at [email protected]


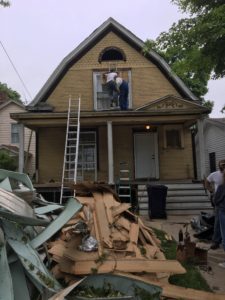
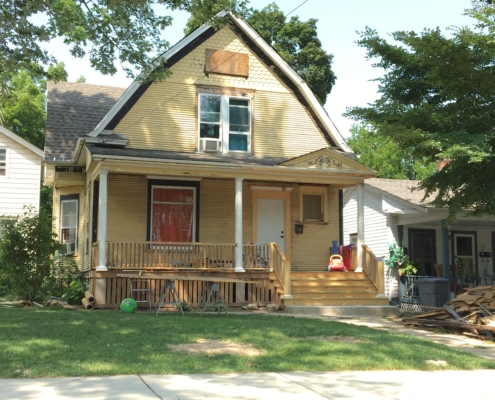
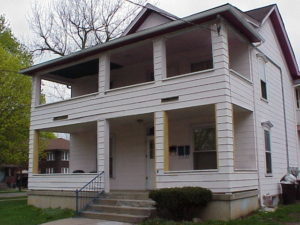
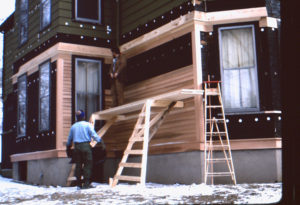
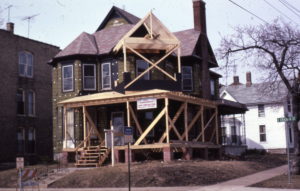
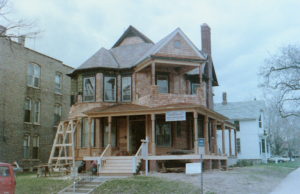
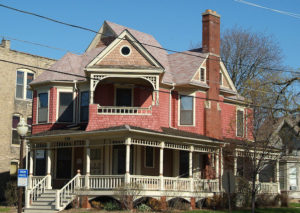
128 College was covered with aluminum siding.

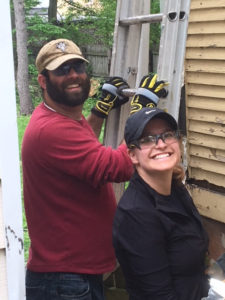
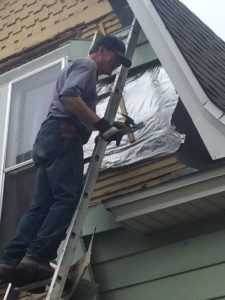
The Gifford Park Association has a program they call the Great Unveiling.  The name and program was borrowed, with their permission, from Rock Island, IL. It is an old fashioned barn-raising event where volunteers take off the substitute siding.

When the Gifford Park Association started the program they offered free removal of the siding and a reward of $1000 for participating.  After a few years the City of Elgin took over the program and started giving a $5000 grant for taking off siding.  Many were done.  Because of recent struggles with the budget the city stopped the program.  GPA brought back the $1000 reward on this project.

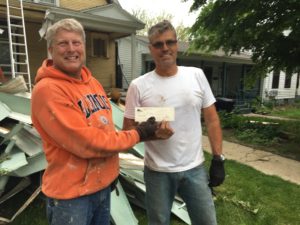
Here the owner is awarded the $1000 grant.


Click here if you would like to read the Courier article about the unveiling.

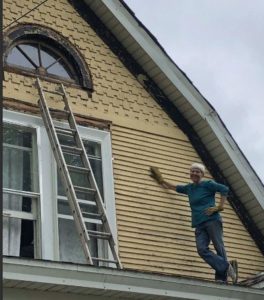
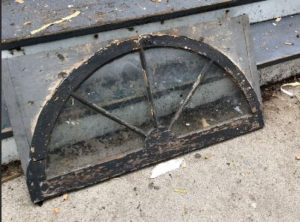
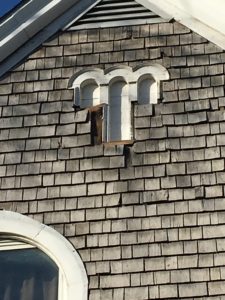
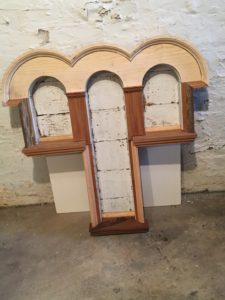
The aluminum siders had covered over three windows and the fish scale siding.  Here is the gable window that was uncovered.  Luckily the sash was left in the attic.

The window to the right of the door and another around the corner were also uncovered.  It is unbelievable to me why they would cover up the windows on the house and drywall over the openings  inside.  The investor that bought the property plans to uncover the window on the inside.  Here the balustrade, apron and newels are being replaced.


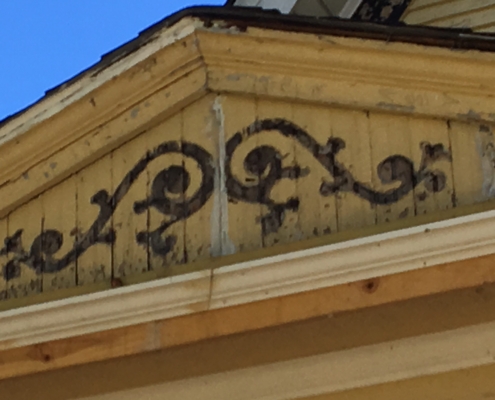
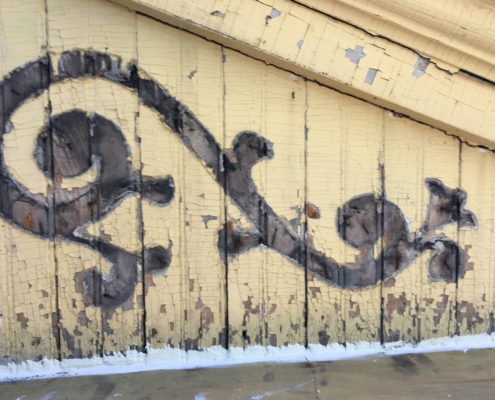
The aluminum siders also chopped off the gable ornament on the porch.  It had never been painted over so a wonderful shadow was left to make a pattern for a new one.


I offered to make a new gable ornament for the owner at no cost to him as a way of saying thank you for unveiling the property.

Normally I would trace the pattern on a large piece of paper.  It is difficult to get an accurate pattern.  I have also used this method:

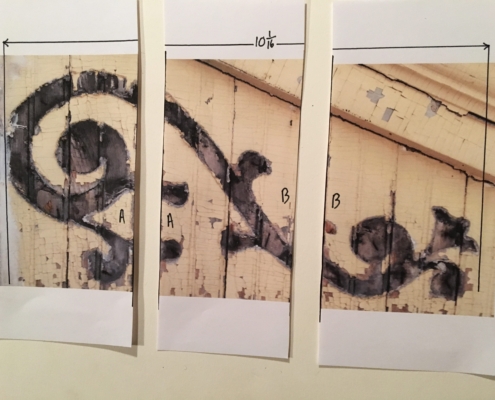
I took an electronic picture of half of the ornament as the two are the same.  Care has to be taken to take the picture straight on so it is not deformed.  The picture I used was not cut off on the left as this one is.  I printed the picture on an 8 1/2 X 11 piece of paper.

Using my printed picture I took it  to a print shop to have it blown up to the proper dimension.  I measured the picture I printed.  It is 10 1/16 long.  The actual mark on the house is 20 1/2 inches.

Actual dimension  divided by the picture dimension = percentage to be blown up.

I cut the printed picture into three parts to be blwon up labeling them so I am sure how they go back together.

To change 1/16 into decimal divide 1 by 16 to get .01265

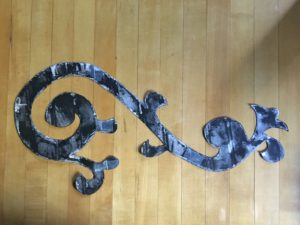
20.5 divided by 10.0625 = 2.037 which rounded off  is 2.04 which is 204 %  so the picture has to be blown up by 204 percent.  It can be done on a home printer or take it to a print shop.  I took the three pieces of paper to a print shop and had each one blown up by 204%.  I then taped the new ones back together and cut them out for my full size pattern.

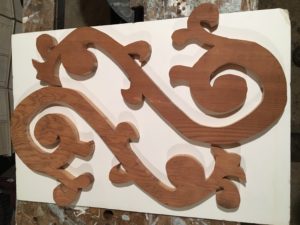
I always trace my paper patterns onto plywood so I have a permanent pattern that can be preserved and to make it easier to trace onto the final wood.  Here are the appliques I made:

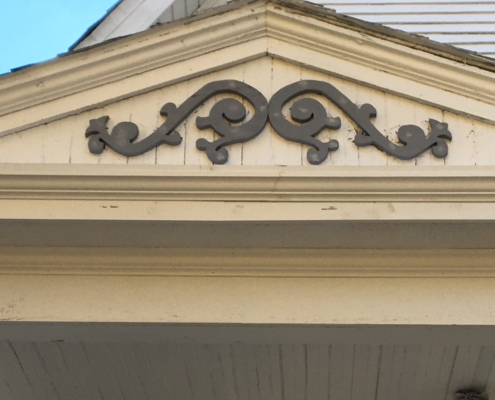
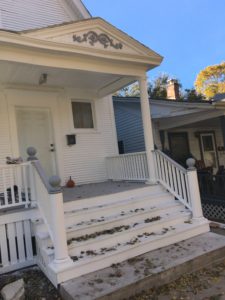
Here are the appliques installed.

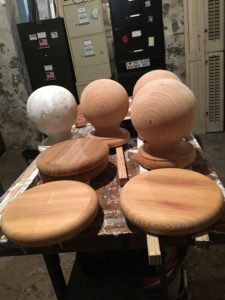
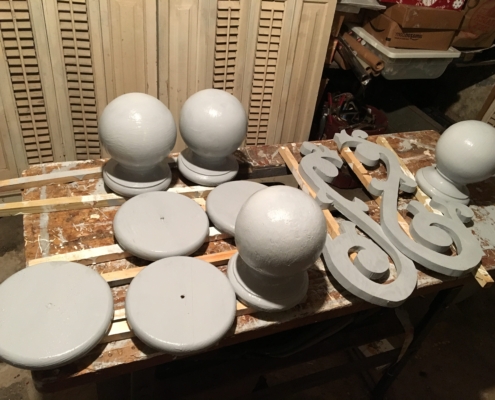
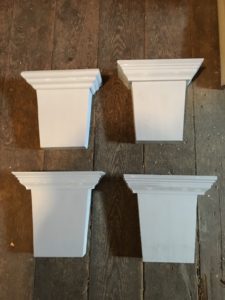
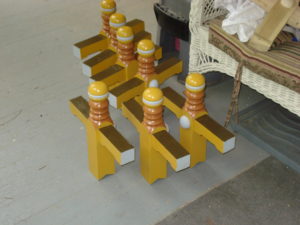
I also agreed to make newel caps to replace the three that were missing.  There was one left on the house that I used as a pattern. It is the white one in the picture.    I used cypress wood which has great rot resistance and coated them with preservative and primed them on all sides so they should last a long time.


Here is the front of the house primed with the balustrade, newels and appliques installed.  The owner ran out of good weather so the painting was not finished.  It is just primed.  Stay tuned for the final colors.


352 Prairie has been an eyesore and problem property in our neighborhood for a long time.  It looked bad as seen at right and had a lot of police calls.  A flipper bought it and applied for downsizing and architectural rehabilitation grants from the city. He was set to get over $100,000 in grants to rehab the building. He gutted the interior, and tore off the aluminum siding and inappropriate porches. He  then realized he was in over his head and stopped work.  Soon after he got foreclosed upon. It sat as an empty eyesore for a few years. Another investor recently purchased the property and plans to live in half and rent the other. It has historically had two addresses one on Prairie and one on Chapel.
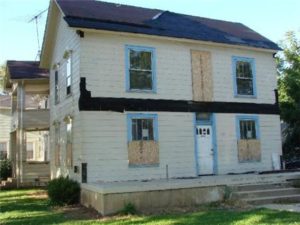
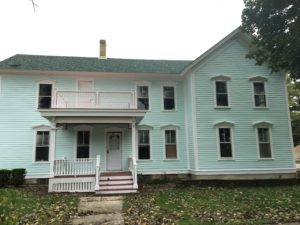
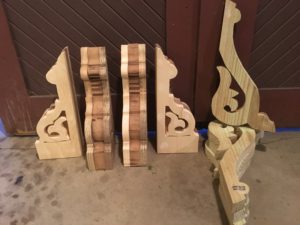
 

Here it is with the siding and porches off of the front.


The west side porches are shown on the left before they were taken off.


Here is the west side with new porches, new siding
and fresh paint.


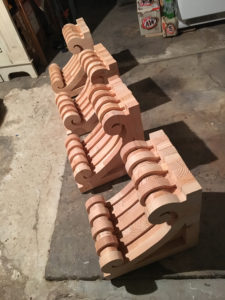
Here are the brackets and corbels I made for the new west side porch.

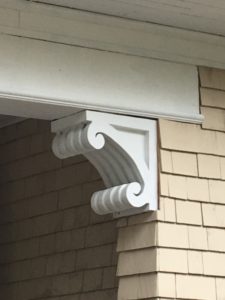
Here is a close up view of the brackets and corbels installed.

Here is the finished porch.

Keep posted for the front porch to be remade.

This home was foreclosed upon and purchased by two flippers from Chicago for $78,400 in July of 2017. The porch had a lot of rotten parts that needed replacing and  I was hired to do that.


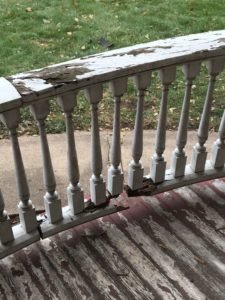
Some of the curved rails were rotten.  The previous contractor had done some good work but did not use treated lumber and the owner did not keep it painted and caulked. I made new rails.


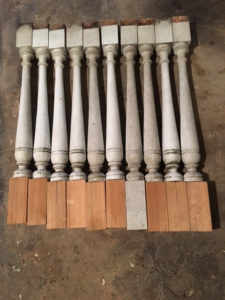
Some of the spindles had rotted bottoms so I replaced them.


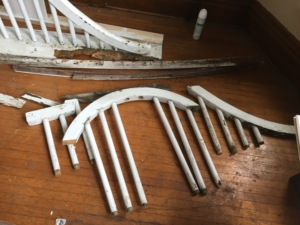
The curved rails on the knee walls had to be replaced.


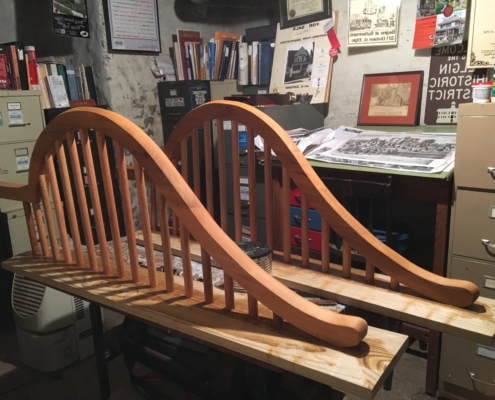
I made new. The rails are old growth cypress and the spindles are oak, both of which have great rot resistance.  They were also treated with preservative.  The base is made from treated lumber.


The house was redone inside and painted on the outside. It is currently for sale for$249,000


Click here to see the listing with interior pictures and a slide show of interior pictures before the rehab.


The Resurrection of 12 Hill

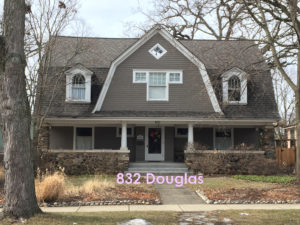
12 Hill was designed by prominent Elgin architect David Postle.  Most of his houses in Elgin are a lot larger and fancier.  Like this one on Douglas:

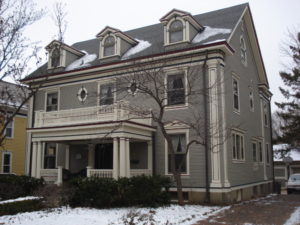
Here is a Postle designed house on Rugby Place.

The Historical Society museum has the original plans which were used to bring 12 Hill back.

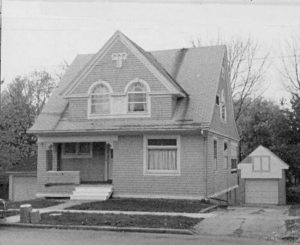
Below is how it originally looked.  Notice how the architect has the roof soffit and fascia continue across the front and side of the house. Kind of unusual, especially on the front gable. I personally do not like the looks of that line across the front of the house.

Here is how it looked in 2008 with aluminum siding on it. The extra soffit and fascia is gone.  The guys installing the aluminum siding must not have wanted to wrap it so they ripped it off. Notice how the panel between the windows and the little simulated window at the top of the gable are gone also. Nice clean lines but oh so different than the original design.

A contractor approached the homeowner saying that he noticed hail damage on the aluminum siding and offered to work with the insurance company to get the homeowner new siding.  They agreed.  The contractor got a permit and took off the aluminum siding.

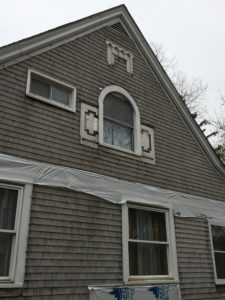
The marks for the panel between the windows, the extended soffit/fascia and  and the ornament in the gable can be seen.

The contractor  found out that the Preservation Ordinance did not allow him to put back aluminum siding.  They were told they needed to repair the original cedar shingles and replace the missing details that were chopped off to make things flat for aluminum siding.

The cedar shingles were in pretty rough shape as they had lots of nail holes in them and the home had been sandblasted leaving it very rough.  The contractor did not want to repair the siding but if they did not repair it they had to replace with new cedar shingles which is very expensive.  The contractor negotiated with the insurance company for three months before they were given the go ahead to replace the shingles and missing details.  After much discussion the city also allowed the new siding.

The casings were rough because of sandblasting and had some rot. Notice the casings are mitered which is unusual for an old house.

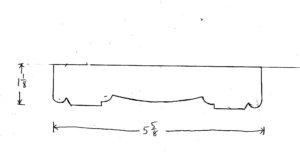
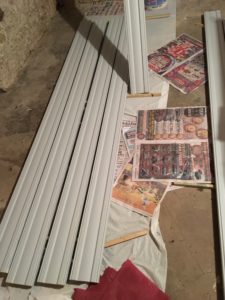
This is the contour of the molding knife that was made to duplicate the original casings exactly.  They were all made of treated limber so they will last a long time.

I remade 95% of the straight and curved casings.

They took off all of the old shingles. I remade the panels on the sides of the windows and the

gable ornament.  New casings and a keystone were added to the window.

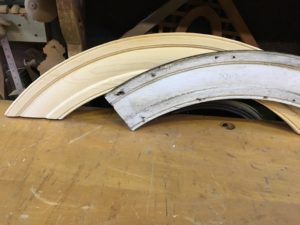
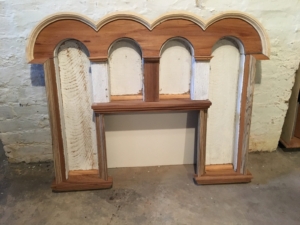
90% of the gable ornament on the house had to be replaced as shown on the left. The curved molding at the top was a challenge. The new panels  that are on the sides of the window are shown below. They are all new as nothing could be salvaged.

Pieces of the old one shown at right could be used as a pattern so the new matches the original exactly.

Here are the panels installed

The  bank of three windows above and to the right of the house are not original to the house.  I convinced the contractor to put casings on it to match the rest of the house.

Here is the gable ornament from the other side that I replicated.

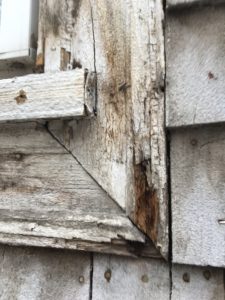
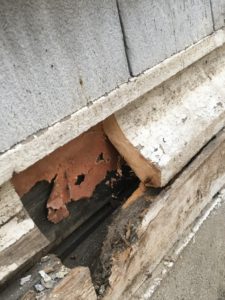
This house has a one of a kind water table board.  The architect must have wanted to show off his creativity.  It is made of two boards and a large crown molding.  A lot of it was rotten and had to be replaced matching the original exactly. The architect’s plans clearly show it.

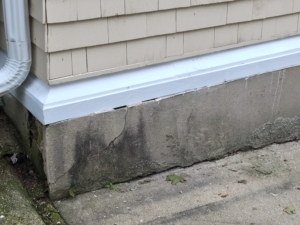
Here is the replacement showing the same corner as above:

The architect’s plans show large brackets in the porch which were taken off.  The marks on the house give the exact dimensions and the plans give a good idea of their shape.

I looked at similar large sandwiched brackets in the neighborhood:

I made the brackets out of inexpensive 2 X 12 lumber working around the knots. They do not get any weather so they are not treated.

Every round topped window had a missing keystone, all of which were replaced.

I made a full scale mock up of what the missing soffit/fascia should look like to guide the contractor.  He was a great guy but had little old house or carpentry experience. He could not visualize what was to be built.  I cut all of the wood to size and I had to lend him my extra chop box for the project.  About 2/3 of the way thru he bought his own.

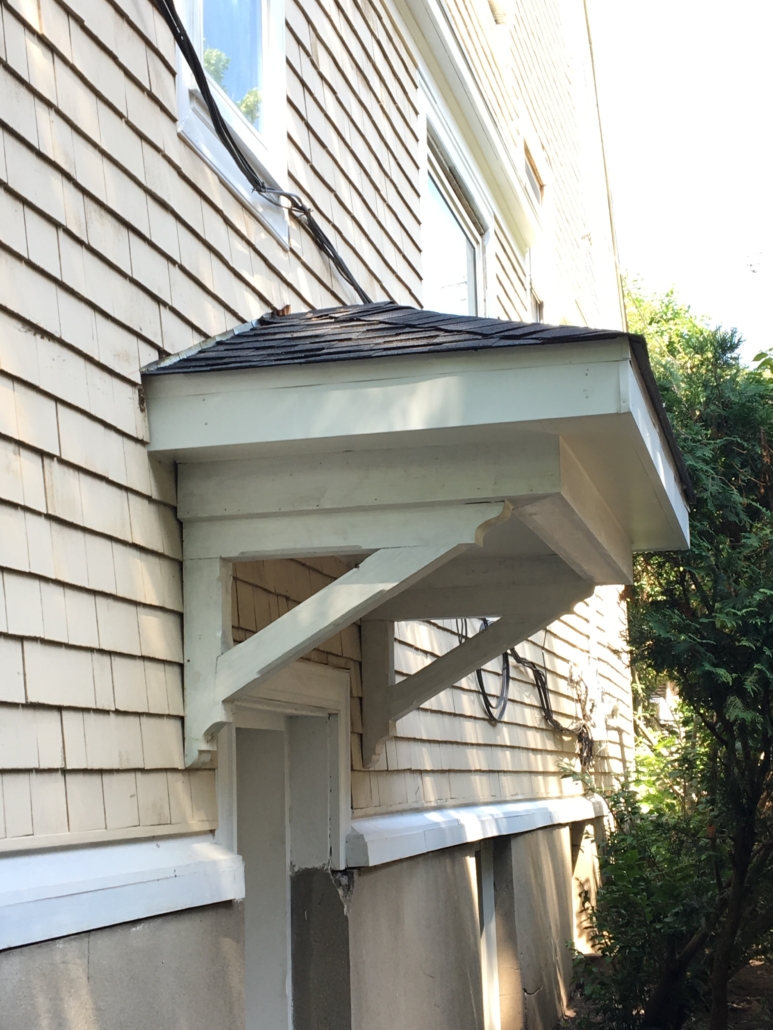
The side porch had an aluminum canopy from when the aluminum siding was installed.  When they took the siding off they took the canopy off.  The owners wanted to put it back but the city Preservation Specialist said no.  They wanted some type of canopy so with the Design Review Committees approval, I made them one exactly the same as another house in the neighborhood.

When I bid the project I did not know the full extent of the project so I bid it high at $3000. That turned out to be low as it cost me more than that but I chalk it up to having the chance to make a real difference in my neighborhood.  I chalk it up to the expense of getting an education. My goal in retirement is to make a difference and I made a huge difference on this house. The project could not have been done without me.  Remember Carly Simon’s song from the 70’s – “You’re so Vain”  She was not talking about Warren Beatty.  She was singing about me.

After the crash President Obama funded a huge program called the Neighborhood Stabilization Program (NSP).  Cities nationwide were given money to buy and rehab properties made vacant problems by the crash.  Elgin received over 2 million dollars.   With it they bought eight properties.  One they tore down as it was too far gone.

Just recently they have started work on building a new house in its place.  Three houses they oversaw their own rehabilitation of spending a terrific amount of money to rehab very nicely.  They all now have great new owners.  When a house is nasty it attracts desperate people.  You have to make them nice to attract decent people.    Four homes they gave to Habitat for Humanity to rehab.   This was one.  It was a two unit.


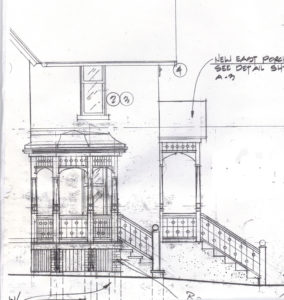
They hired an architect to draw up plans for the porches.


As a volunteer, I made the balls in the balustrade, the front porch gable ornament, the rails, newels, brackets and porch skirting.  The design for the skirting came from a porch nearby.  Habitat stripped most of the paint off of the house, rehabbed the interior nicely, and rebuilt the porches. The only thing that could have been done better is to make the posts meatier.


Here it is today:

It was fun being a part of it.


 Porches recreated by Neighborhood Housing Services

In the early 80’s Neighborhood Housing Services (NHS) and the city of

Elgin bought 326 E. Chicago with the upper level to be for the NHS office and the bottom floor to be rented out as an apartment.  It was purchased for $55,000.

A neighbor came forward with an old picture showing how it used to look.  The city and NHS board decided to put this amazing house back to how it used to look.  It cost $50,000 with a public outcry with people saying more money was put into the home that it will ever be worth.  They were wrong.  With it being on a heavily trafficked street it was noticed by all and became an inspiration for others to renovate their homes in the neighborhood.


While the home was under construction a neighbor came forward saying that he had garbage picked the original front door when the house was being rehabbed.  He gave it back to us.


At the time Elgin had only one restoration carpenter and that was Dave Hunt.  A local woodworker, John Haight made the posts, the balustrade and the friez at the top of the porch. He passed away but his family currently runs The Haight, a funky wedding venue downtown in the space that used to be his shop.

Here is the home under construction.


This is how it looks today and is being used as the
home for the neighborhoods ROPE Officer.


NHS used the home for their offices for several years and then decided to do it again by buying another home to rehab for new offices.  205 N. Gifford was purchased for $40,000.  It was a flophouse with padlocks on every door.  The back stairs and basement were filled to the ceiling with junk as the owner was a pack rat.  Volunteers filled two dumpsters to clean it out.  An architect was hired  to make exterior plans and specs for the inside.  The first floor was to be the new NHS office and the second was to be  rented out.  This picture shows it shortly after the fake brick asphalt siding was taken off.


This picture shows the south side.  The Sandborn map showed that it had a bay window on the south side where the multi-paned window is in the picture. It was decided to put it back.  The Sandborn also showed

that the porch was only on the front of the house.  It was decided to put an appropriate one back.


Picture showing the new bay window.


I made the brackets and posts for the porch and the brackets for the bay window.


The home was featured on the ElginHistoric Housewalk.  Click here to view the booklet page which gives some history of the home.

NHS sold the home to a private homeowner who owned it for many years. She lost her job and could not maintain it.


The building deteriorated badly.


A flipper bought the house and with the help of a city grant put all new siding on the house, restored the porches and upgraded the interior nicely.


Current interior and exterior pictures.

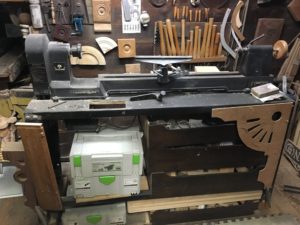
In 1975 we inherited a nice rocking chair from my wife’s grand parents.  It was missing a spindle.  We looked everywhere for someone to make one spindle for us.  We found places that would make 100 but not one. I was starting to get into woodworking as a necessity in rehabbing our first house so I decided to buy a lathe and turn it myself.  The lathe cost $500 so my wife was not a happy camper as together we were only making $18,000 as  teachers.

When I told a friend at work that I bought a lathe he literally laughed loudly at me saying that he knew all kinds of guys that had bought a lathe and then made a couple of salt and pepper shakers and never used it again.  I vowed to prove him wrong and appease my wife.

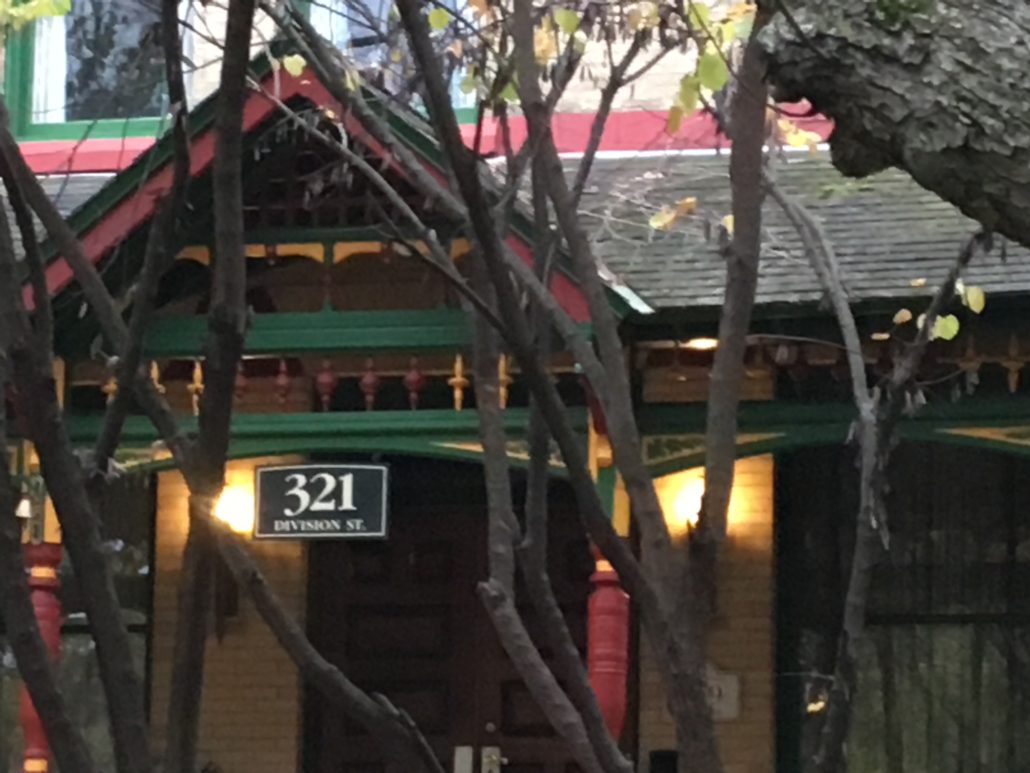
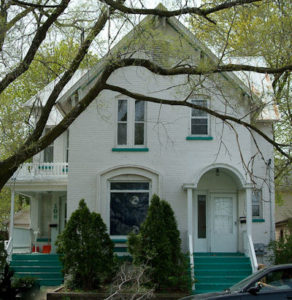
Tom Ackeman and David Powers had converted a run down mansion that was being used as artists flophouse in the neighborhood into a private dining club called the Butterman’s. The rehab of this house was the first in a neighborhood and turned out to be an inspiration to others to do the same.  I had noticed that the fancy porch was missing two spindles in the spandrel.
I went into the club and found Tom in the third floor lounge sitting back in a huge chair smoking a cigar and sipping a cocktail.  I asked him if I could make the two spindles for him in exchange for a dinner for my wife and I. He jumped at the chance. I made the two spindles before reading anything about how to turn wood. I later found out that what I was doing was really scraping wood  not turning it. There are two different spindles in the spandrel and I made one of each. Here it is today
We had a great dinner and the rocker was repaired  so my wife was feeling a little bit better about my new expensive toy. I made friends with Tom and Dave and later did some intricate spindles for the interior balustrade. They had a wedding reception there and kids broke several of the spindles. I was paid well for the work.

This picture shows ones missing.

This picture shows my repairs.  The spindles are small and oak so they were very hard to turn.


I read everything I could about wood turning and did several more jobs in the neighborhood for pay.

When my daughter came along in 1981 so I definitely wanted to use the lathe  to make some toys.

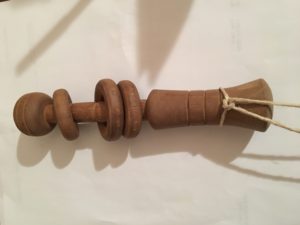
The first one was a rattle that she never used as the handle was too big to hang on to and it was too heavy for a baby. Making the rings was a challenge but luckily I had an article describing how to do it.
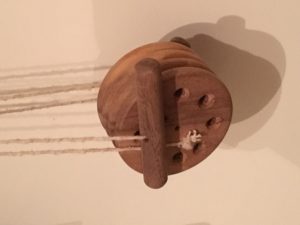


My mother used to put string thru a large button to create a toy.  If you pull  in and out on the string it spins the button. It was a lot of fun to play with. I made the same thing out of wood:

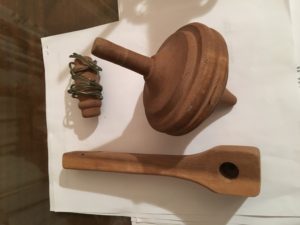
I made a wonderful spinning top

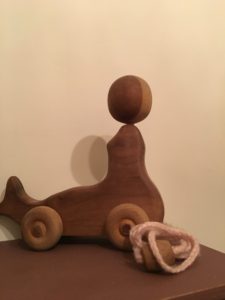
I glued maple and walnut together to make  striped ball for the seal.  The axle has a cam on it so the ball goes up and down when you pull it.

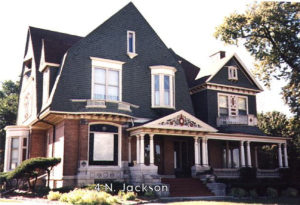
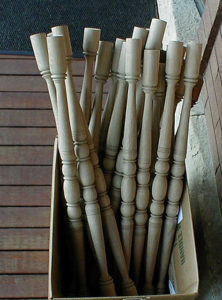
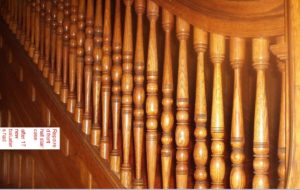
Since then I have made hundreds of interior and exterior spindles for old house customers.  The most satisfying ones I have ever done were for a mansion at 4 N. Jackson in Elgin.

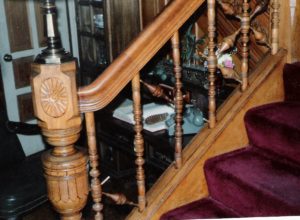
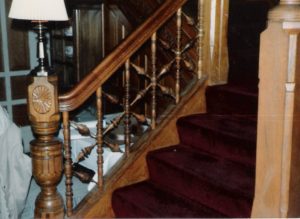
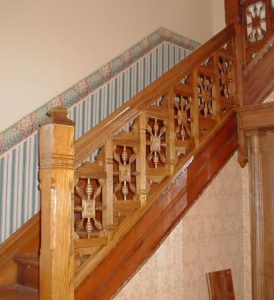
In the 70’s it was vacant and homeless people were living there.  They took out several details to burn to stay warm. They took drawers made of quarter sawn sycamore which I also duplicated. Another thing they took were spindles from the grand staircase.  They were missing all these years until I volunteered to make them.

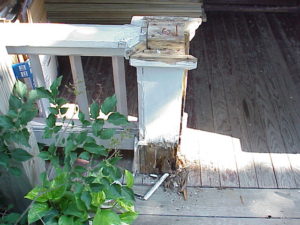
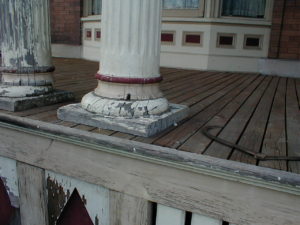
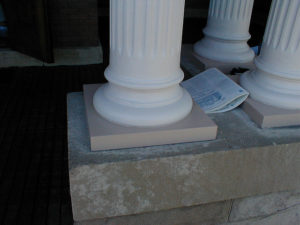
It is common to find Tuscan column bases rotted.  I have turned at least 50.


I turned turned 75 spindles for our own porch.  The wood is glued up old growth cypress recycled from a water tower taken down in Chicago.

I turned the spindles for the porch across the street from us:

After the crash President Obama started a program called the National Stabilization Program.  (NSP)  Cities were given money to buy and rehab problem properties. Elgin received 1.2 million. I got to make the spindles for one.  Thanks President Obama for spending taxpayer dollars in such a productive manner.  Sure beats buying a new fighter jet!!!! For the cost of one jet hundreds and hundreds of problem properties were brought back across the nation.

As a volunteer I turned the balls for this porch balustrade on a house Habitat for Humanity rehabbed:


I have made hundreds of custom rosettes which are also called bullseyes for interior and exterior old house trim. I wrote an article for This is Carpentry on how to make custom rosettes.

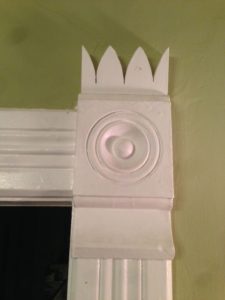
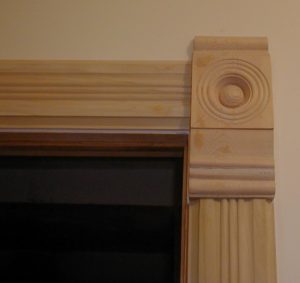
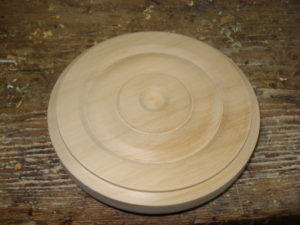
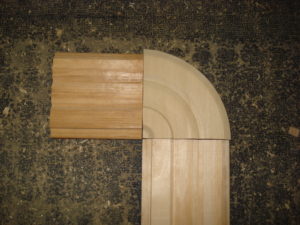
I love round corner blocks on old house trim.  It is not used very often.  I only know of two houses in Elgin that have them and I got to duplicate some for both.  You start by turning a big disk then cut in into four parts for the corner block.
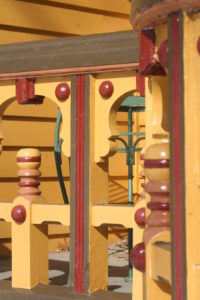


The owner of the The Wing Mansion in Elgin had an old picture of his porch showing details that were now missing.  I made the crosses with the chamfers and ball finial 0n top and the half balls.

The most difficult job I have done is turning the parts for a missing balustrade.  A past owner had taken two sections of the balustrade down to put in a will for an apartment.  I made all of the little pieces for the balustrade including hundreds of small turnings in oak. I also made the newel post and rail.   This picture shows one of two sections I made.
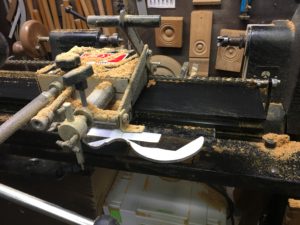
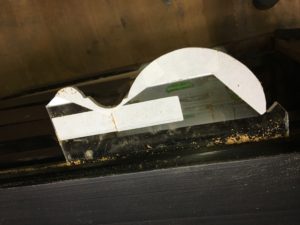


For 40 years I have turned wood into spindles, finials and column bases.  I have never used a lathe duplicator and would often mention that those that use one are not really turning wood.  A few months ago I finally broke down and bought one.

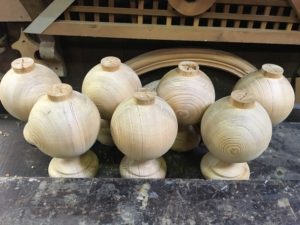
I spent as much for the duplicator as I did for the entire lathe back in 1979.  I have used it twice.  Once for large ball finials.  Balls are typically hard to make look round on a lathe.  With the duplicator I drew a perfect circle for the template and made a perfect circle every time.  That was nice.

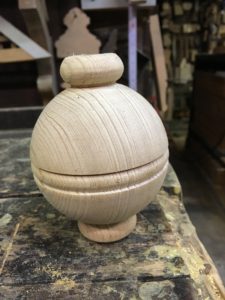
The only problem with the duplicator is that it cannot do fine lines so I have to touch up with lathe tools. I made the bead in the center of this ball with a skew, not the duplicator.

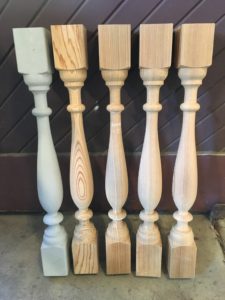
These were the first spindles I turned with the duplicator.  The gray one is the original.

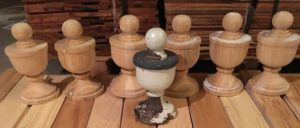
I made these finials for the same house before I got the duplicator.  The one with paint is the original I duplicate the old fashioned way with calipers and lathe tools.


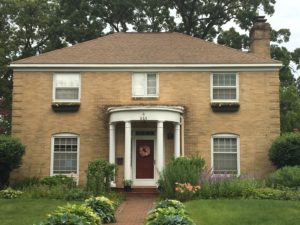
This house on Douglas Street in Elgin has four columns with unusual large beading on the top 18 inches. 


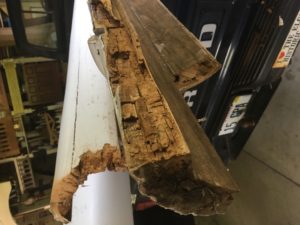
The two in the rear got a lot of water from the roof and were rotten.  I was hoping that some epoxy could give them several more years.  When they were taken down the top on one crumbled in my hands so epoxy was not an option.

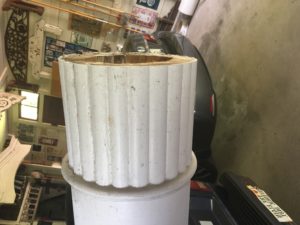
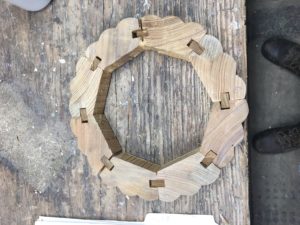
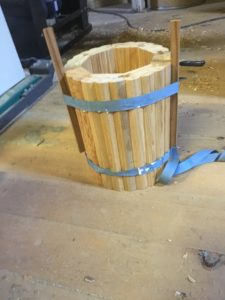
The column was coopered (made like a barrel with sections glued together) as was the fluted portion.

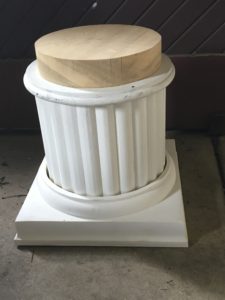
The owner of the home came to the Design Review Committee asking to replace all four columns with new fiberglass columns.  The Committee urged him to try to replicate the two good columns as the flutes were a unique feature.  A compromise was struck in that the owner bought two new fiberglass columns and I replicated the fluted portion to be placed on top of the fiberglass column.  The new fiberglass columns were very close in diameter to the originals. 

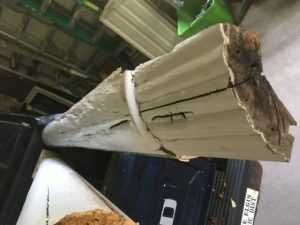
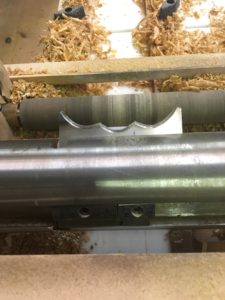
I made the fluted portion the same way they were originally made.  I made a custom molding knife to cut each section of three flutes.  Each of those was cut at the precise angle necessary for it to glue up to be a circle. Just as was originally done, a spline was cut to keep them together. Below is a cut off section of the fluted portion of the column showing the splines.

Band clamps were used to glue the sections together.


The transition plate was turned to duplicate the original.  A piece of wood was attached to the flutes to slip into the fiberglass column to allow the two to be attached to one another. The capitol on the column shown (on the bottom of this picture) is new and fiberglass. It was very close to the originals and simply slides over the column.

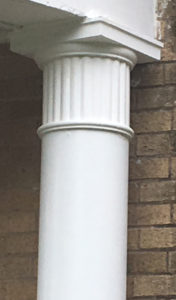
Below is the new column installed. The new wooden flutes were made from old growth cypress which has excellent rot resistance.  They were also treated with a sealer/preservative and the end grain was painted. The installation contractor added some flashing to the roof so they should not get water and rot. The new and the old columns cannot be distinguished.  The owner and I were very happy with the results.